今回はcssを使って左右の端に斜め線が入ったタイトルや見出しを作る方法を紹介していきたいと思います。
斜め線をいれるときに以前は画像で作ることも多かったですが今はcssの疑似要素を使うことで簡単に斜め線を作ることができます。
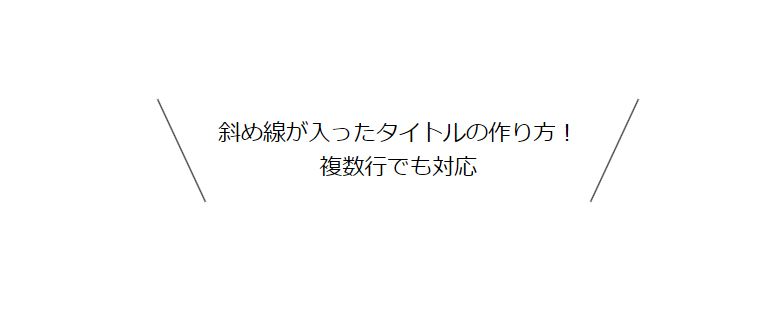
左右の端に斜め線が入ったタイトルや見出しを作る方法
html
<div class="attention">
	<p>斜め線が入ったタイトルの作り方!<br>複数行でも対応</p>
</div>
css
.attention {
    position: relative;
    display: inline-block;
    padding: 0 30px;
    margin-bottom: 36px;
}

.attention:before {
    position: absolute;
    left: 0;
    top: 0;
    content: "";
    width: 1px;
    height: 100%;
    background: #000;
    border-radius: 3px;
    transform: rotate(-25deg);
}

.attention:after {
    position: absolute;
    content: "";
    right: 0;
    top: 0;
    width: 1px;
    height: 100%;
    background: #000;
    border-radius: 3px;
    transform: rotate(25deg);
}
左右の端にある斜め線は疑似要素のbeforeとafterを使います。
行数が増えても斜め線の高さが広がるようにしています。
サンプル
斜め線が入ったタイトルの作り方!
複数行でも対応
コメント